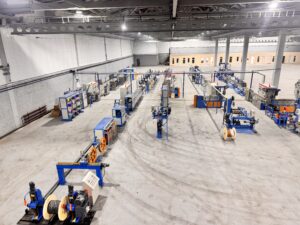
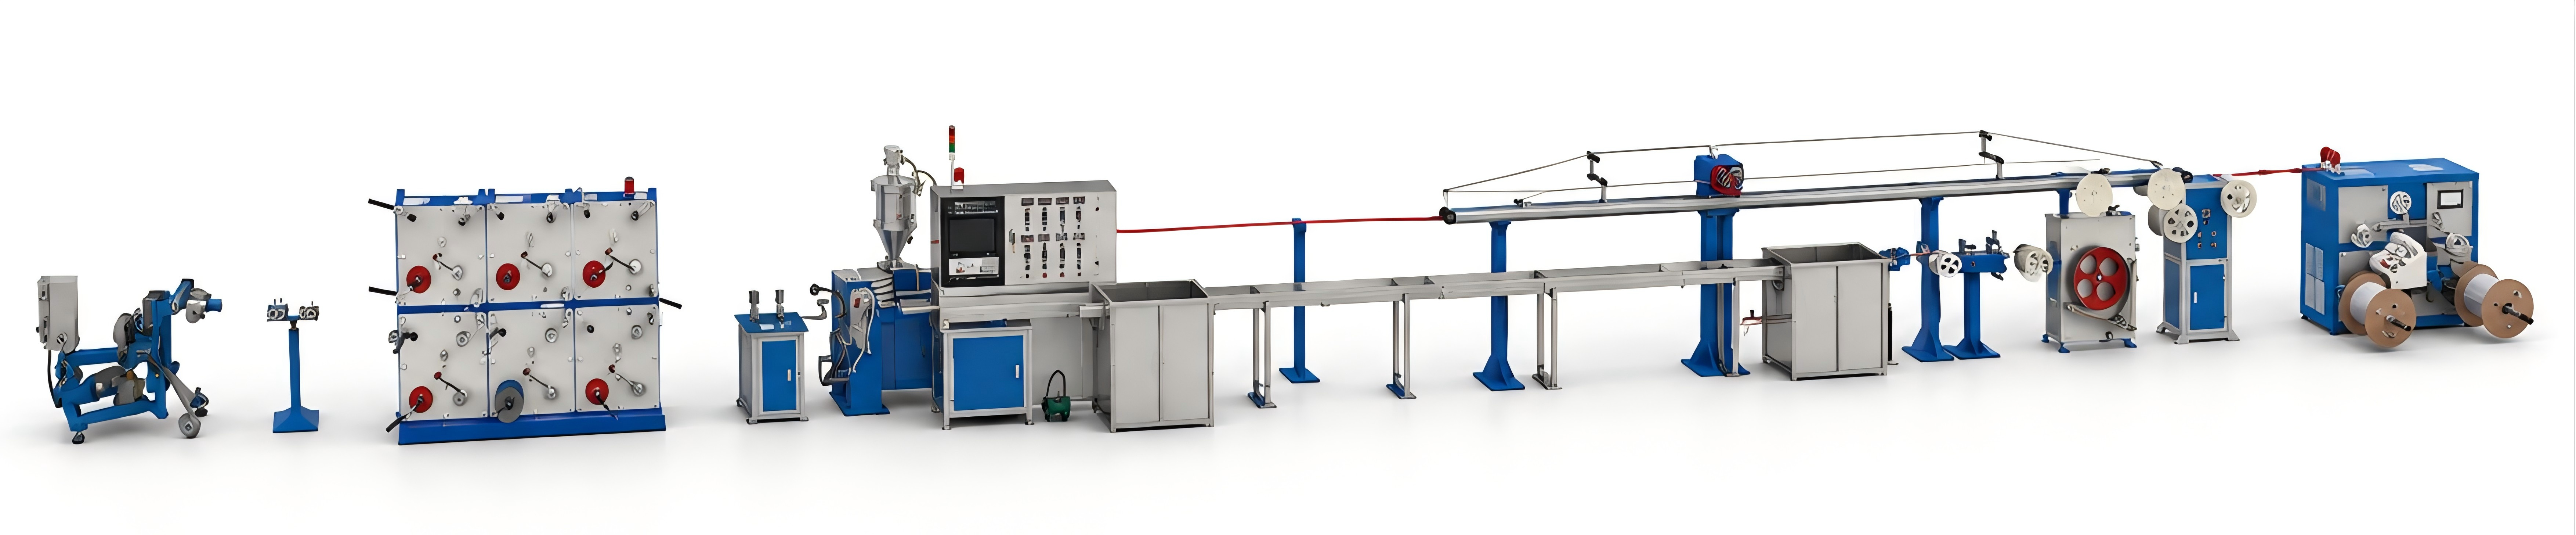
An optical cable production line is a complex system in which multiple units work in coordination. Even with well-designed equipment and proper installation, various anomalies can still occur during continuous production. The speed of fault diagnosis directly determines shift output and scrap rate. However, many plants tend to “trial-and-error” when problems arise—changing spare parts, adjusting parameters, rebooting—which not only wastes time but can also aggravate the issue.Based on years of field service experience and fault records from optical cable production lines, this article summarizes the most common fault phenomena, root causes, and troubleshooting methods, this article summarises the ten most common fault phenomena, root causes, and standardised troubleshooting procedures for optical cable production lines, for the reference of production line operators and equipment managers.
1.Fault Data Overview (2023–2025)
| Fault Category | Occurrences | Percentage | Avg. Resolution Time (Remote) | Avg. Resolution Time (On-site) |
| Excessive tension fluctuation | 31 | 24% | 45 min | 3 h |
| Frequent yarn breakage / uneven binding | 24 | 19% | 30 min | 2 h |
| Pitch deviation out of tolerance | 18 | 14% | 60 min | 4 h |
| Uneven take-up layering | 16 | 12% | 40 min | 3.5 h |
| Sheath concentricity out of tolerance | 14 | 11% | 50 min | 5 h |
| Inaccurate length measurement | 11 | 9% | 20 min | 1.5 h |
| Traction slip | 8 | 6% | 30 min | 2 h |
| Motor alarm / inverter fault | 4 | 3% | 2 h (parts replacement) | 6 h |
| PLC / touchscreen fault | 2 | 2% | — | 1 day |
| Others | 1 | 1% | — | — |
The following sections analyse each fault in descending order of frequency.
2.One of the most common issues encountered in optical cable production.
2.1 Phenomenon
The pay-off tension reading on the touchscreen fluctuates widely (e.g.,For example, the actual tension reading fluctuates significantly around the set value.).
The stranded tube shows obvious alternating tight and loose marks after stranding.
Periodic pitch deviation occurs in the stranded core.
2.2 Root Cause Checks (in order of probability)
| Step | Check Item | Normal State | Corrective Action |
| 1 | Dancer arm sticking | Free rebound when manually moved | Clean bearing, apply grease; replace bearing if worn |
| 2 | Tension sensor dirty or damaged | Sensor surface clean | Clean sensor; use multimeter to check linearity of output signal |
| 3 | Pay-off spool rotates freely | Smooth manual rotation | Check spool shaft bearing and cone pressure |
| 4 | Pay-off motor encoder (for servo type) | Encoder cable intact | Re-plug connector; check shield grounding |
| 5 | PLC tension PID parameters abnormal | Default parameters unchanged | Restore default parameters or re-tune |
2.3 Rapid Troubleshooting Flow Chart
Tension fluctuation
↓
Is dancer arm sticking? → Yes → Clean/lubricate/replace bearing
↓ No
Is sensor signal abnormal? → Yes → Clean sensor/check wiring
↓ No
Is pay‑off spool hard to turn? → Yes → Adjust cone pressure/replace bearing
↓ No
Restore default PID parameters → Is tension normal?
↓ Yes ↓ No
Done Check servo motor/encoder
2.4 Preventive Recommendations
Clean the dancer arm shaft and lubricate it weekly.
Calibrate the tension sensor monthly with standard weights (hang a 5 N weight; the reading should be 4.8–5.2 N on the touchscreen).
III. Frequent Yarn Breakage / Uneven Binding (19%)
3.1 Phenomenon
Left-hand or right-hand binder yarn breaks frequently (≥2 times per hour).
Binding pitch varies erratically.
Yarn leaves indentations on the tube surface.
3.2 Root Cause Checks
| Step | Check Item | Corrective Action |
| 1 | Yarn bobbin mounting direction wrong | Ensure yarn is drawn from the top of the bobbin, not the bottom |
| 2 | Ceramic guide wheel chipped or cracked | Replace ceramic guide wheel (available in the spare parts kit) |
| 3 | Binding tension too high (>5 N) | Reduce to 2–4 N |
| 4 | Poor yarn quality (many splices, burrs) | Change yarn brand/supplier |
| 5 | Binding shaft not rotating freely | Clean and apply grease |
| 6 | Breakage switch position wrong or too sensitive | Adjust switch position to 1–2 mm from yarn, trigger stroke 0.5 mm |
3.3 Special Case
Case: An Indonesian customer reported frequent breakage on the left-hand binder. Remote inspection revealed that the left-hand bobbin was mounted outside the machine, and the yarn passed through a guide wheel at a steep angle before entering the binder head. Solution: an additional transition guide wheel was installed to reduce the angle, which reduced the breakage rate by 90%.
4.Pitch Deviation Out of Tolerance (14%)
4.1 Phenomenon
Measured pitch deviates from the set value by more than ±0.15 mm.
Pitch varies between different sections of the same reel.
Stranded tube shows twisting or arching.
4.2 Root Cause Checks
| Step | Check Item | Corrective Action |
| 1 | Traction speed stable? | Check traction inverter and speed feedback |
| 2 | Stranding differential gearbox low on oil? | Top up with lubricating oil (type per manual) |
| 3 | Pitch correction coefficient offset? | Re-calibrate pitch: run 100 turns, measure actual length, correct coefficient by formula |
| 4 | Encoder coupling loose? | Tighten encoder coupling |
| 5 | Excessive pay-off tension fluctuation (see Section II) | Resolve tension issue first |
4.3 Pitch Correction Procedure (Hongkai touchscreen operation)
-
On the main interface, go to “Parameter Settings” → “Pitch Correction”.
-
Set the machine to run for N revolutions (100 revolutions are recommended).
-
Run the machine automatically, then stop and measure the actual forward length of the cable core with a tape measure; record it as L_actual.
-
Calculation formula: New coefficient = Old coefficient × L_actual / (Pitch set value × N)
-
Enter the new coefficient and save.
Example: Pitch set value = 180 mm, theoretical length for 100 revolutions = 18.0 m. The actual measured length is 17.6 m, and the old coefficient is 1.00. Then the new coefficient = 1.00 × 17.6 / 18.0 = 0.978.

5.Uneven Take-up Layering (12%)
5.1 Phenomenon
Loose layering on the take-up spool, with inner layers loose and outer layers tight.
“Overlap” or “jumping” during take-up.
Cable comes off the spool in disorder during delivery.
5.2 Root Cause Checks
| Step | Check Item | Corrective Action |
| 1 | Take-up tension appropriate? | Too loose: spool loose; too tight: outer layers press inner. Adjust take-up dancer cylinder pressure. |
| 2 | Traverse reversal timely? | Adjust traverse limit switch position so that reversal occurs 5–10 mm from the spool flange. |
| 3 | Take-up shaft gear position wrong? | Large spools (PN800+) use low speed; small spools use high speed. |
| 4 | Spool itself uneven? | Replace spool. |
| 5 | Cable slipping on traction wheel (see next section) | Address slip issue. |
5.3 Reference Tension Settings
| Cable Outer Diameter | Take-up Tension (N) |
| ≤10 mm | 20–35 |
| 10–18 mm | 35–60 |
| ≥18 mm | 60–100 |
6.Sheath Concentricity Out of Tolerance (11%)
6.1 Phenomenon
Online laser diameter gauge shows large outer diameter fluctuations.
After cutting, the sheath wall thickness is thicker on one side and thinner on the other.
Concentricity below 95%.
6.2 Root Cause Checks
| Step | Check Item | Corrective Action |
| 1 | Core and die misaligned? | Loosen die fixing screws; use hex wrench to adjust four adjusting screws until extrudate wall thickness is uniform. |
| 2 | Cable core off-centre in die? | Check if core is biased to one side; adjust guide wheel position before the die. |
| 3 | Laser gauge lens dirty? | Clean lens gently with alcohol cotton. |
| 4 | Extruder temperature unstable? | Check heating bands and thermocouple tightness. |
| 5 | Traction speed fluctuation (refer to tension troubleshooting) | Same as above. |
6.3 Quick Manual Centring Procedure
Extrude at low speed and observe the sheath tube wall.
Mark the adjusting screw corresponding to the thinner side with a pen.
Turn each screw ¼ turn at a time and observe changes.
Repeat until wall thickness is uniform.
Experience: A skilled operator can centre within 15 minutes; Hongkai’s closed-loop laser control system can significantly reduce adjustment time after start-up.

7.Inaccurate Length Measurement (9%)
7.1 Phenomenon
Actual length differs from the touchscreen display by more than 1%.
Customer reports short length upon delivery.
7.2 Root Cause Checks
| Step | Check Item | Corrective Action |
| 1 | Measuring wheel pressure insufficient? | Adjust pressure spring to prevent slip. |
| 2 | Measuring wheel worn? | Replace measuring wheel (rubber wheel recommended annually). |
| 3 | Measuring coefficient offset? | Re-calibrate using the formula above. |
| 4 | Traction slip (see next section) | Resolve slip first. |
7.3 Calibration Example
A customer in Bangladesh reported that the display showed 1000 m, but actual measurement was only 985 m (error –1.5%). On-site inspection revealed severe wear on the measuring wheel. After replacing the wheel and re-calibrating, the error was reduced to within acceptable production limits.

8.Traction Slip (6%)
8.1 Phenomenon
The line speed display is normal, but the actual cable core moves slower.
Squealing sound at the traction wheel.
Pitch becomes larger (because actual line speed is lower than the set value).
8.2 Root Cause Checks
| Step | Check Item | Corrective Action |
| 1 | Traction wheel pressure insufficient? | Adjust belt pressure handle or cylinder pressure. |
| 2 | Traction wheel worn (V-groove shallow)? | Replace traction wheel or re-cut the groove. |
| 3 | Cable surface oily? | Check for oil leakage from the oiling unit; clean traction wheel. |
| 4 | Coupling between traction wheel and encoder loose? | Tighten. |
9.General Principles for Troubleshooting
Check alarms first, then mechanics: PLC alarms usually pinpoint the problem directly (e.g., “Left binder broken”, “Pay-off tension over limit”). Follow the alarm prompt.
External before internal: Check external wiring, sensors, mechanical sticking before disassembling internal components.
Software before hardware: Restore parameters and re-calibrate before suspecting hardware failure.
Keep a backup of factory settings: Export parameters to a USB drive after each adjustment. Restore with one key during faults.
Log fault records: Record anomalies, actions taken, and spare parts replaced per shift for future analysis.
10.Hongkai Equipment Built-in Fault Self-Diagnosis
Hongkai equipment has an integrated fault diagnosis assistant page on the touchscreen for rapid location:
| Alarm Code | Meaning | Recommended Action |
| E001 | Left binder yarn broken | Check yarn, ceramic guide wheel, breakage switch |
| E002 | Right binder yarn broken | Same as above |
| E003 | Pay-off tension over limit (> set +30%) | Check dancer, sensor, pay-off spool |
| E004 | Pay-off tension too low (< set –30%) | Check tension setting, dancer counterweight |
| E005 | Traction inverter fault | Check inverter panel alarm code |
| E006 | Take-up traverse reversal fault | Check limit switches |
| E007 | SZ stranding encoder disconnected | Check encoder cable and coupling |
| E008 | Sheath concentricity out of tolerance for >5 min | Check core-die alignment and laser gauge |
Operators can directly follow the corresponding troubleshooting procedure based on the alarm code, without blind checking.
11.About Guangdong Hongkai
Guangdong Hongkai Optical Cable Equipment Technology Co., Ltd. provides remote fault diagnosis support (fast remote technical support during working hours) and on-site maintenance services. All equipment is delivered with:
Complete electrical schematics and PLC program backup (USB drive)
Spare parts list and replacement schedule
Common fault troubleshooting manual (Chinese and English)
If you encounter any abnormal situation while using our optical cable equipment, please feel free to contact the Hongkai after-sales team. We also provide operator training on fault troubleshooting (operator training programs tailored to customer requirements.) for customers who purchase new equipment.