Getting a cable production line up and running is one thing; keeping it running smoothly and reliably over the long haul is quite another.
Having worked with cable equipment for over a decade and interacted with hundreds of production lines, we’ve noticed a pattern: many unplanned stoppages aren’t actually because the equipment is “broken” – they happen because the operator doesn’t know how to handle the situation. When an experienced master is on shift, they can tell where the problem is just by listening to the machine. But when a new operator takes over, an alarm goes off and they’re stuck, forced to call the supplier for remote support.
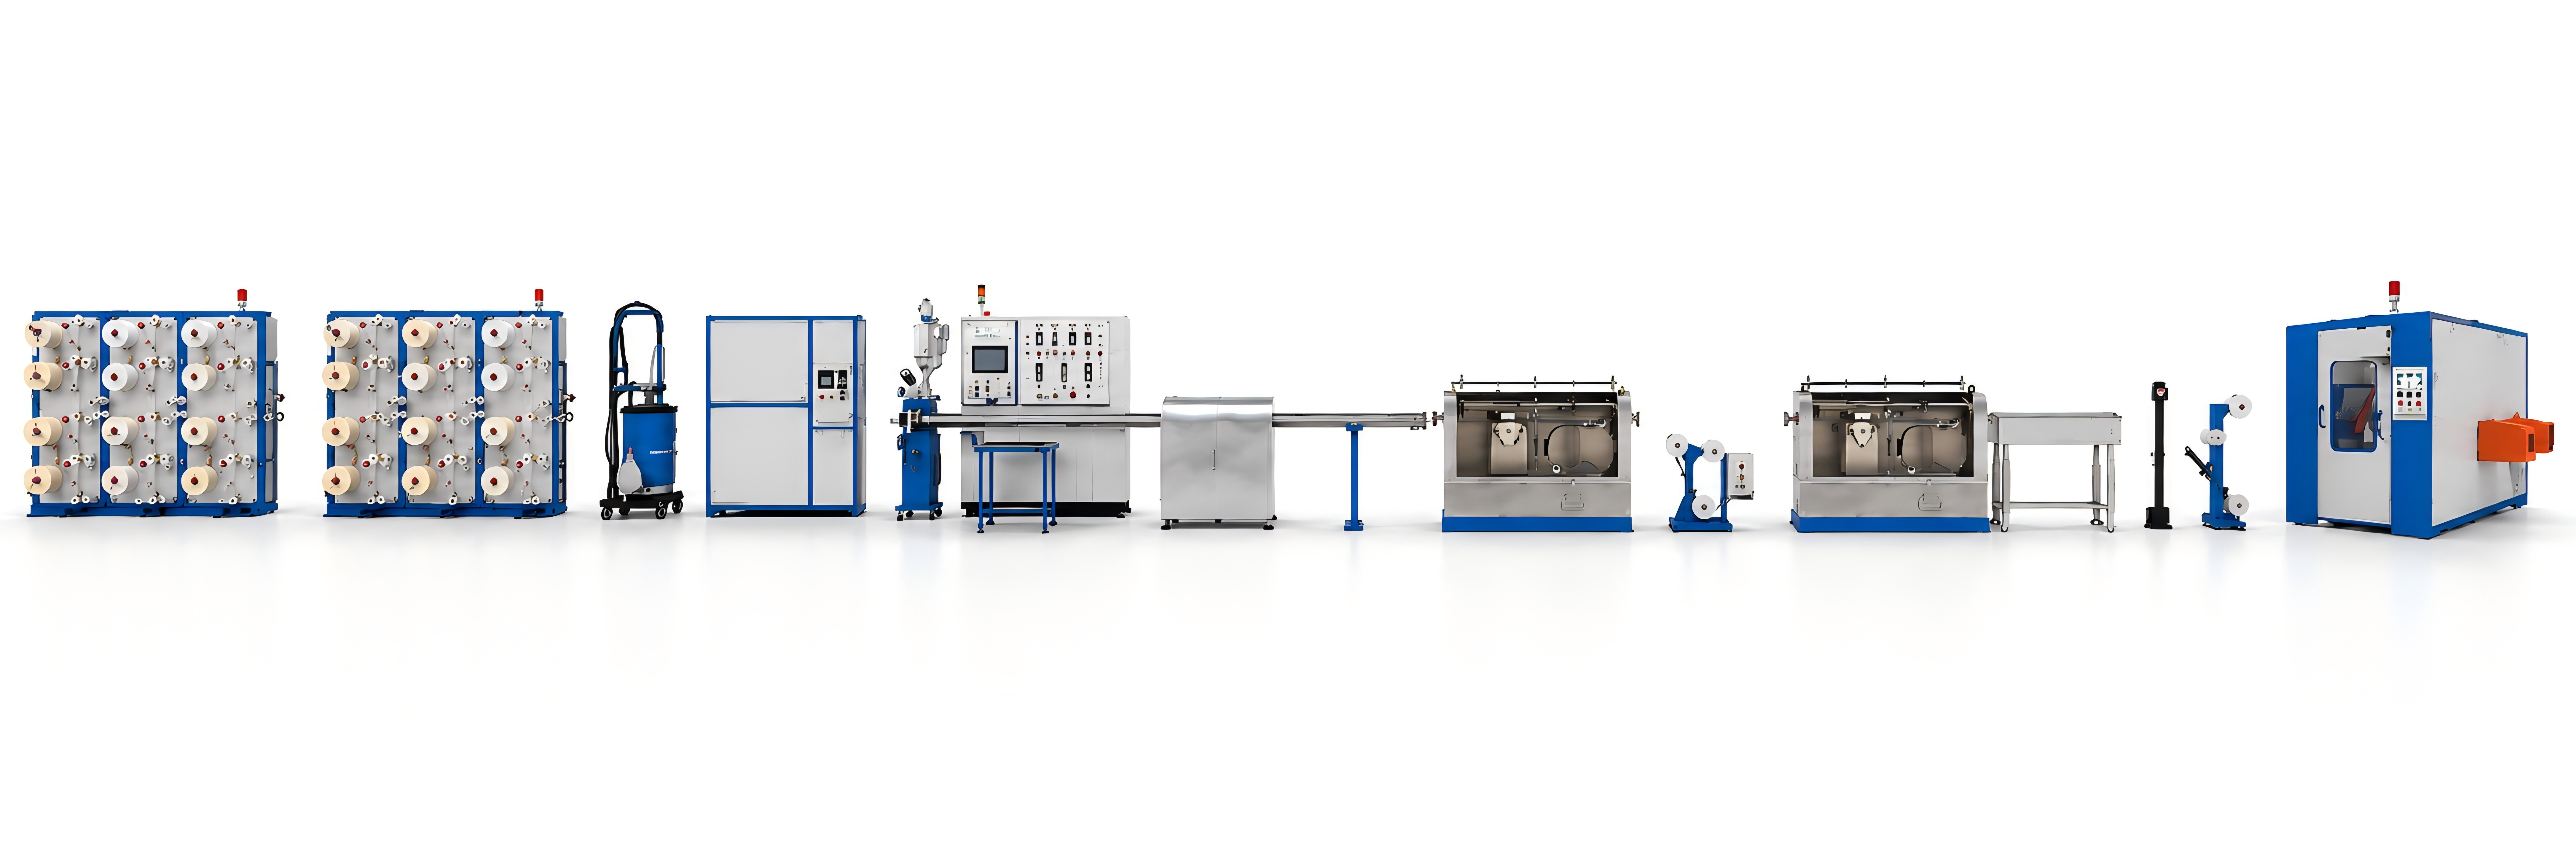
1. Pay‑Off Tension Suddenly Spikes: Check the Dancer First, Then the Sensor
Symptom: The pay‑off tension reading on the touchscreen suddenly jumps from the setpoint to double or more, and the machine alarms and stops.
Many people’s first reaction is “the sensor is broken” or “the PLC has failed.” But in reality, it’s often much simpler. The buffer tube comes off the pay‑off reel, passes over the dancer arm, and then enters the stranding unit. If the pivot shaft of the dancer arm is dry and sticking, the arm gets locked at a fixed angle. The sensor continues to read that fixed value – but the actual pay‑off tension has already changed.
Troubleshooting order is critical: First, manually push the dancer arm to see if it springs back freely. If not, clean the bearings and apply grease. If the arm moves freely but the tension reading is still off, then check the tension sensor – is there dust on the sensor surface? Use a multimeter to check whether the output signal is linear. After these two steps, 90% of tension problems are resolved.
Hongkai’s SZ stranding machine uses SKF or NSK bearings for the dancer arm, with a low‑friction shaft design that rarely sticks under normal use. However, if there’s heavy dust in the workshop and lubrication is delayed, even the best bearings can have issues.
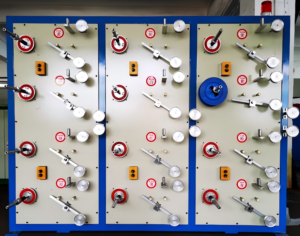
2. Stranding Pitch Fluctuates Erratically: The Encoder Coupling Is Loose
Symptom: The pitch setpoint hasn’t changed, but the measured pitch varies from large to small, with obvious differences between sections of the same reel.
In most cases, this is not a PLC program issue – it’s a loose encoder coupling. The encoder is mounted on the stranding motor or the haul‑off motor, feeding real‑time speed signals back to the PLC. If the coupling between the encoder and the motor shaft is loose, the feedback speed doesn’t match the actual speed. The PLC thinks the speed is correct, but it’s actually off. Since Pitch = Haul‑off Speed ÷ Stranding Speed, any speed error directly affects pitch.
Solution: Stop the machine, open the encoder cover, and check whether the set screw on the coupling is loose. After tightening, recalibrate the pitch factor – run the machine for 100 revolutions, measure the actual cable core length, and recalculate using: New Factor = Old Factor × Actual Length ÷ (Pitch Setpoint × 100).
Hongkai’s SZ stranding machine uses a fully differential structure with PLC stepless pitch setting; the encoder signal participates directly in closed‑loop control. A loose coupling is one of the few easily overlooked mechanical failure points.
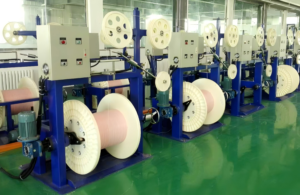
3. Binder Yarn Breaks Frequently: The Spool Is Installed Backwards
Symptom: Left‑ or right‑hand binder yarn breaks repeatedly, sometimes multiple times per hour.
Many factories respond by changing yarn or replacing guide wheels, wasting half a day with no improvement. One easily overlooked cause: the yarn spool is installed in the wrong orientation.
The yarn should be pulled off from the top of the spool, not the bottom. If installed backwards, the yarn’s friction angle at the exit point increases. At high speed, tension concentrates at a single point and the yarn is easily cut. This is especially true for double‑head binders – check the orientation of both spools.
Other common causes: Is there a groove worn into the ceramic guide wheel? If so, replace it. Is the binder tension set too high? Typically 2–4 N is sufficient; above 5 N, breakage becomes likely. Is the breakage sensor enabled? It must be turned on during normal production – once enabled, a yarn break will stop the machine automatically.
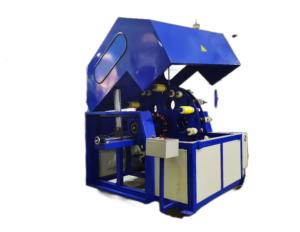
4. Bubbles or Blisters on the Sheath Surface: The Material Has Absorbed Moisture
Symptom: Small bubbles or periodic bulges appear on the sheath surface; cutting open the sheath reveals internal voids.
This fault is especially common during seasonal transitions – particularly in the humid rainy season in southern regions. If the sheath material (especially LSZH) has absorbed moisture in storage, the water turns to steam during extrusion and forms bubbles inside the sheath.
Troubleshooting sequence: First, confirm whether the material has been exposed to moisture – check if the packaging is damaged or if the material has been stored for too long. If the material is dry, check whether the extruder heating zone temperatures are set too high – overheating can cause material decomposition and foaming. Another possibility is that the FRP strength members have absorbed moisture – although FRP has low water absorption, prolonged storage in humid conditions can still cause it to pick up moisture, and evaporation during extrusion creates bubbles. Passing the FRP through a preheater before entering the extruder often helps.
Hongkai’s sheathing line screws are made of 38CrMoAlA material with nitriding treatment for excellent plasticization. However, if the material itself is compromised, even the best equipment cannot produce a qualified sheath.
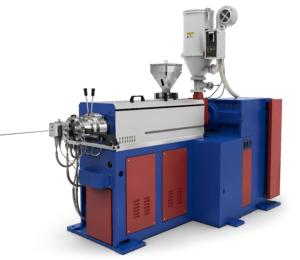
5. Sheath Concentricity Drifts: First Check Whether the Diameter Gauge Lens Is Dirty
Symptom: Sheath wall thickness is uneven – thicker on one side, thinner on the other. The laser diameter gauge shows fluctuating outer diameter readings, and the PLC keeps adjusting but cannot bring it back.
Many people immediately start adjusting the die – loosening screws, repositioning, tightening, trial running, adjusting again – which can take 30 minutes or more without a guaranteed fix. But there’s a simpler cause: the diameter gauge lens is dirty.
Dust or oil on the gauge lens causes incorrect readings. If the reading is too high, the PLC thinks the diameter is too large and reduces extruder speed; if the reading is too low, the PLC thinks the diameter is too small and increases speed. In reality, the outer diameter may be fine – the gauge is simply “seeing wrong.”
Solution: Gently wipe the gauge lens with an alcohol swab, then check whether the reading returns to normal. If it still doesn’t, use a standard reference rod to calibrate the gauge.
Hongkai’s sheathing line is equipped with a high‑precision laser diameter gauge (accuracy 0.2 μm), but even the most precise instrument is vulnerable to dirt. Wipe the lens before starting up each day – it takes less than 30 seconds and saves a lot of trouble.
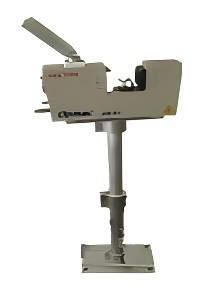
6. Take‑Up Traverse Winding Is Irregular: The Wrong Gear Range Was Selected
Symptom: Cable layering on the take‑up reel is loose, overlapping, or jumping, resulting in poor appearance of the finished reel.
Take‑up machines typically have two gear ranges – low speed for large reels, high speed for small reels. If the wrong range is selected, torque mismatches cause uneven winding. Large reels on high speed won’t have enough torque – winding is loose. Small reels on low speed have too much torque – winding is too tight and overlapping.
Solution: Verify the reel size and switch to the corresponding range. If the winding is still uneven after switching, check the position of the traverse limit switches – they should reverse at 5–10 mm from the reel flange. Reversing too early or too late will affect winding quality.
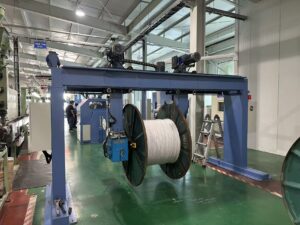
7. Equipment Alarm Won’t Reset: A Power Cycle Is Often the Most Effective Fix
Symptom: An alarm displays on the touchscreen, pressing the reset button does nothing, and the machine won’t move.
Many operators panic in this situation, assuming the equipment is “broken.” In many cases, it’s simply that an inverter or drive has entered a protective state.
Solution: Locate the inverter or drive showing the alarm and check the alarm code on its display. After noting the code, disconnect power to that unit, wait 10 seconds, reapply power, and then press the reset button. This clears the majority of alarms.
If the power cycle doesn’t work, consult the alarm code for the specific cause – overload, overvoltage, phase loss, encoder disconnection – each code indicates a different course of action.
Final Words: Three Principles for Troubleshooting
Principle 1: Simple before complex. Start by checking the most easily overlooked things – is the lens dirty? Are bearings low on grease? Is the coupling loose? – before suspecting major components like PLCs and inverters. Most faults have simple causes.
Principle 2: External before internal. Check external wiring, sensors, and mechanical binding before disassembling internal components. Rushing to tear apart a machine can turn a minor issue into a major one.
Principle 3: Keep factory parameter backups. Hongkai provides a PLC program backup USB drive with every machine. If parameters get scrambled, restore them in 15 minutes – no need to wait for an engineer.
Guangdong Hongkai Optical Cable Equipment Technology Co., Ltd. began manufacturing wire and cable equipment in 2005 and was formally incorporated in 2015. Our main products include SZ stranding and cabling lines, fiber optic cable sheathing extrusion lines, and FTTH drop cable production lines. Our equipment has been exported to more than 15 countries and regions, with over 160 sets currently running on production lines worldwide. Every machine comes with a factory test report, a PLC program backup on USB, bilingual operation manuals (Chinese/English), and a wear‑parts kit.